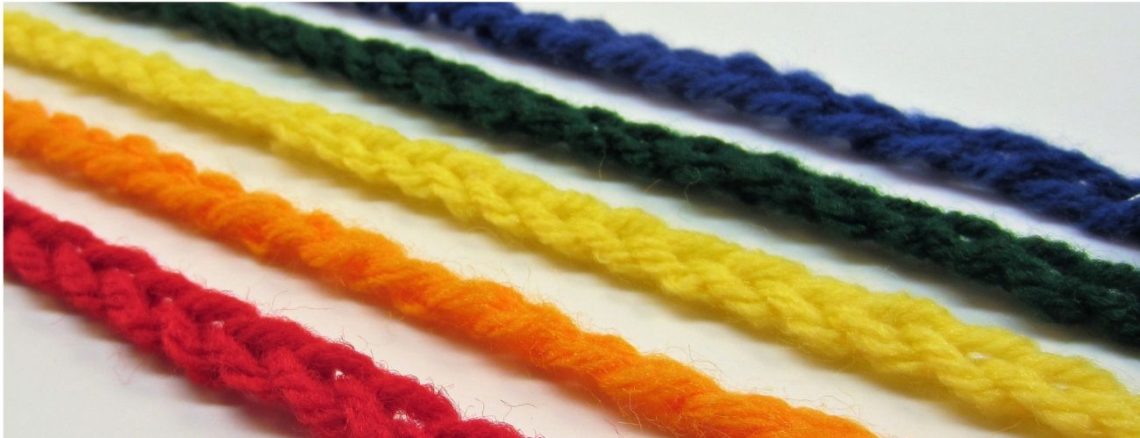
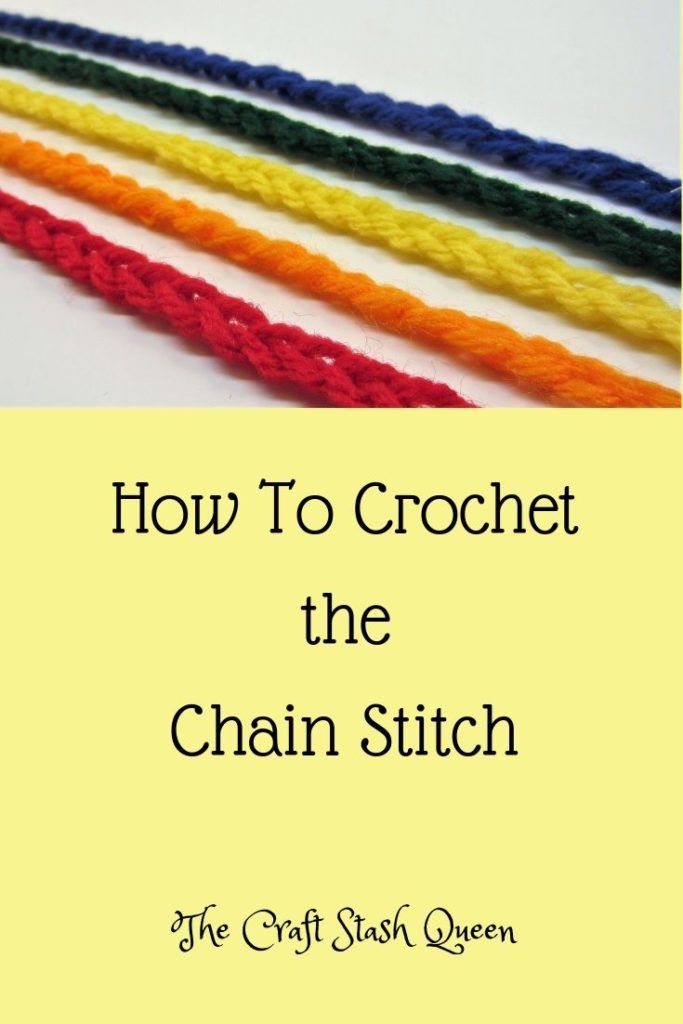
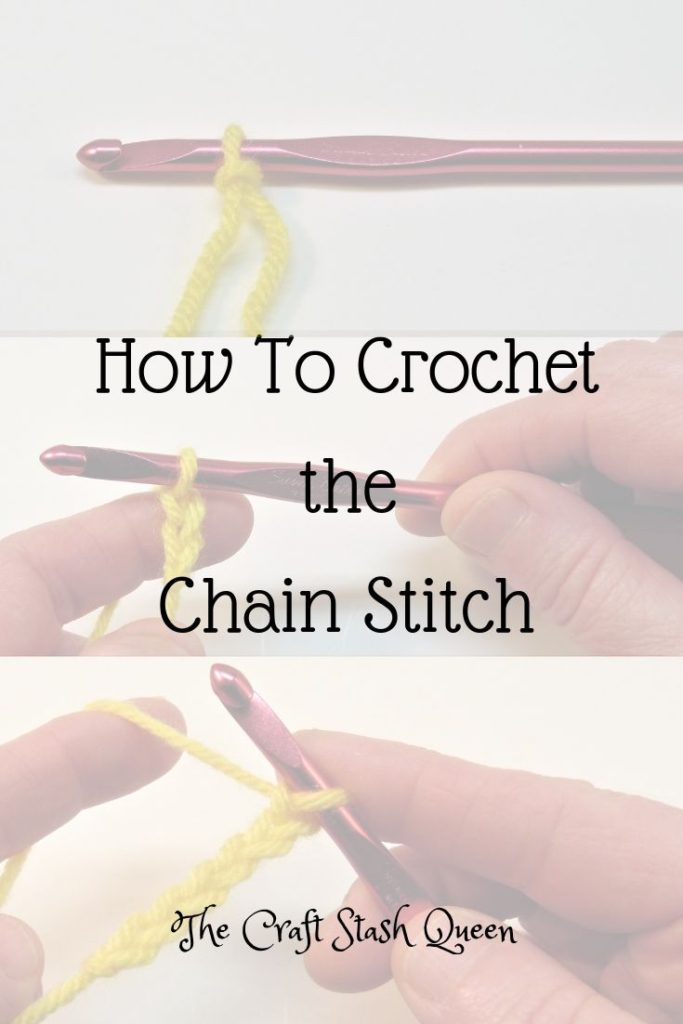
How to Crochet the Chain Stitch
The chain stitch is the most basic crochet stitch. Nearly every project will start with a foundation chain. So let’s learn this basic stitch so you can be on your way to making your first project.
This post contains affiliate links. Read our Disclosure Policy for details.
Supplies
- Yarn — medium weight, #4
- Crochet Hook –size I-9
If you are following a pattern, use the yarn and crochet hook suggested in the pattern.
If you are practicing with no pattern in mind, a worsted weight yarn in acrylic, cotton or wool will be your best choice. Look for the number 4 on the back of the yarn wrapper. Choose a light, bright color and stay away from fuzzy, loopy or slippery yarns. You really want to be able to see your stitches when you are starting out with crochet. As far as a crochet hook, I recommend an I-9, 5.5 mm crochet hook. If you have questions about the tools you need to start crocheting, read Crochet Tools for Beginners.
Tension
Let’s talk about tension for just a minute. Tension is how tightly or loosely you crochet…and how evenly. While there are exceptions, new crocheters tend to crochet more tightly. Once you become more comfortable with your new hobby, your tension will probably loosen up.
Have you tried to crochet and work didn’t look even? Were your edges crooked and uneven? Sometimes tension is to blame. The easiest way to fix tension is to practice and practice some more. The more you crochet, the more you will learn about your tension and how to control your tension.
For now, don’t worry about tension. Just worry about getting comfortable with holding your hook and your yarn and making stitches.
Crocheting the Chain Stitch
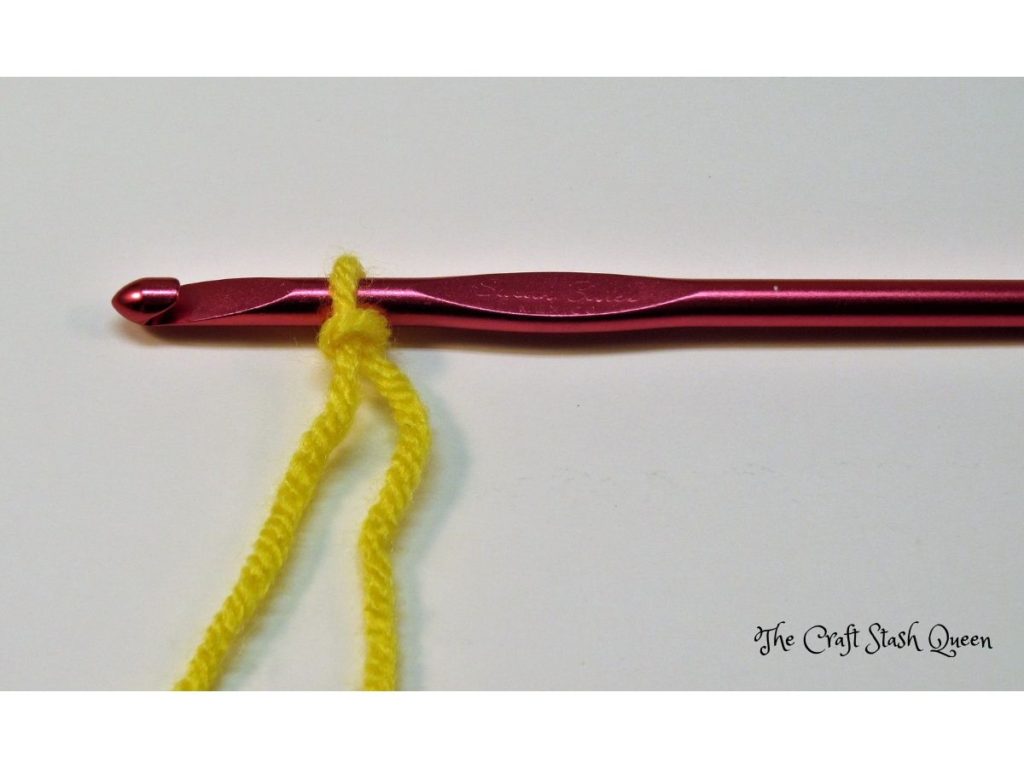
If you need a tutorial on how to make a slip knot, start here.
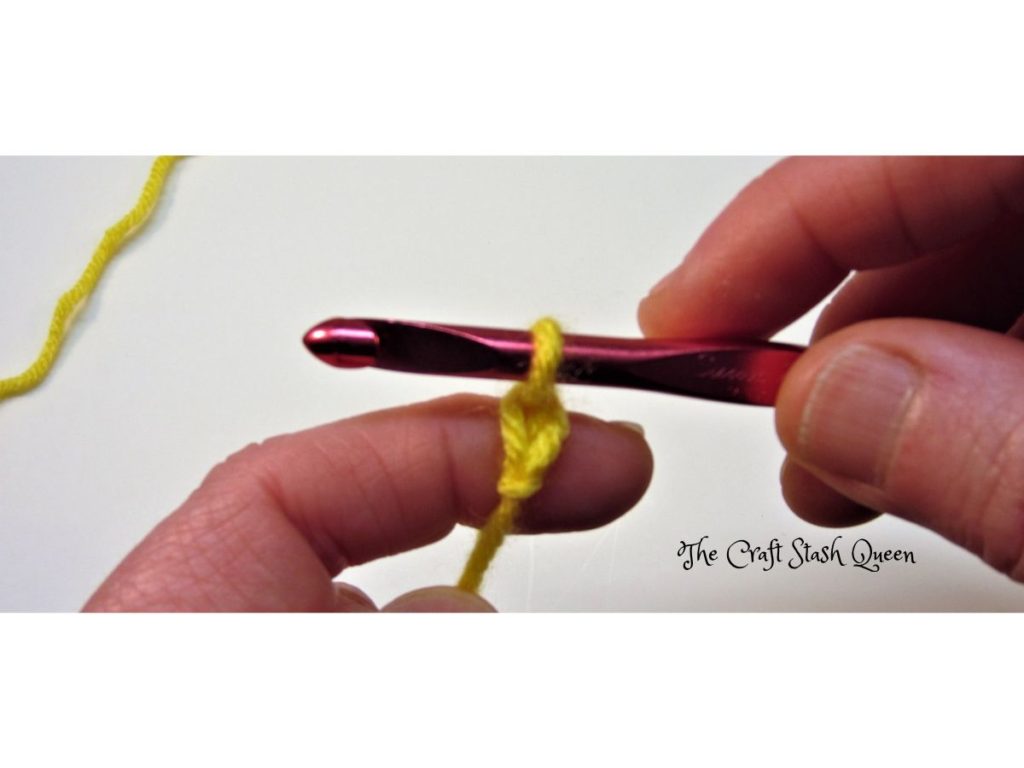
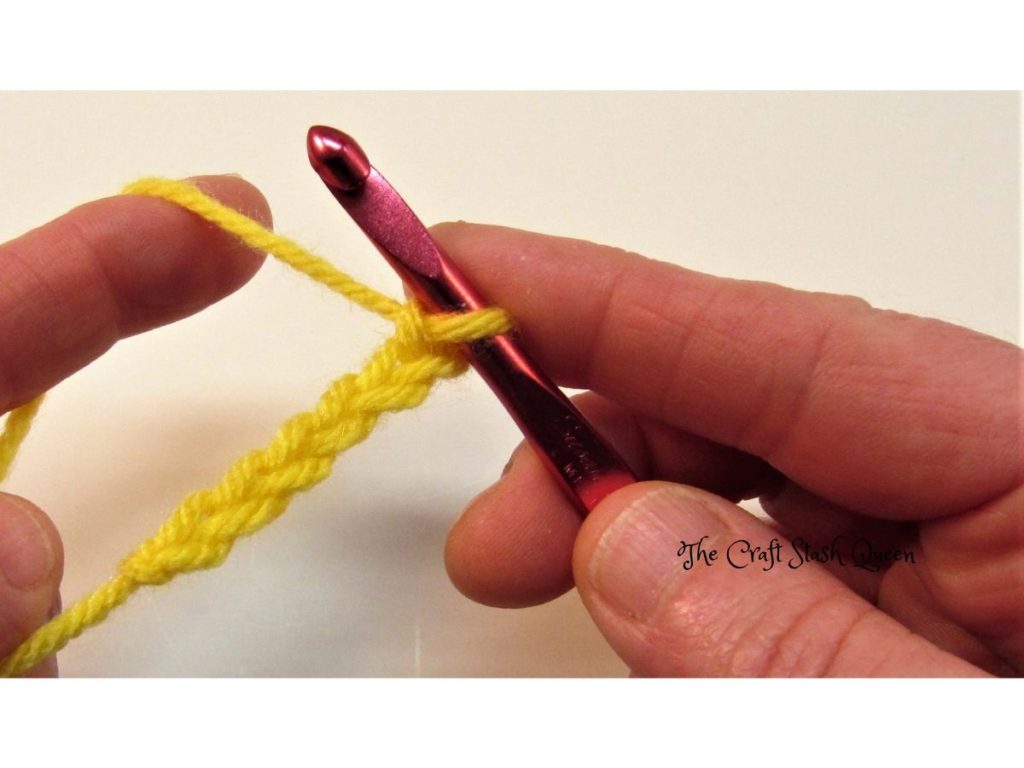
Make a slip knot and put it on your crochet hook. Snug it up BUT not too tight. The loop on the hook should move freely. The loop should be on the round part of the hook. See the photo below.
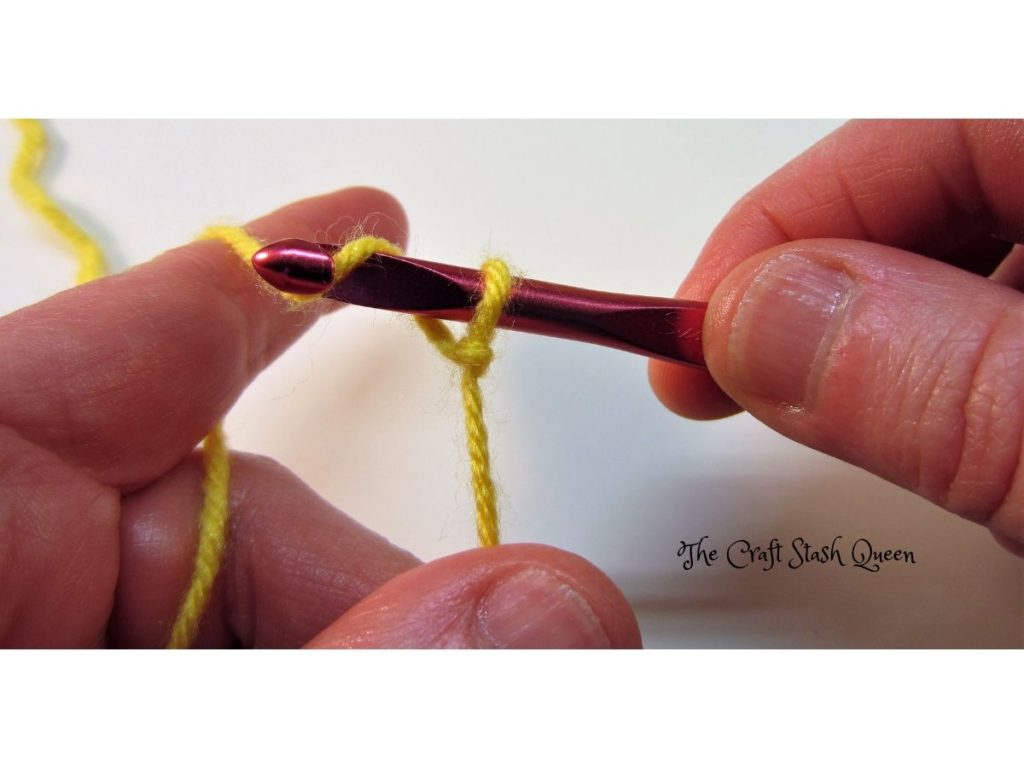
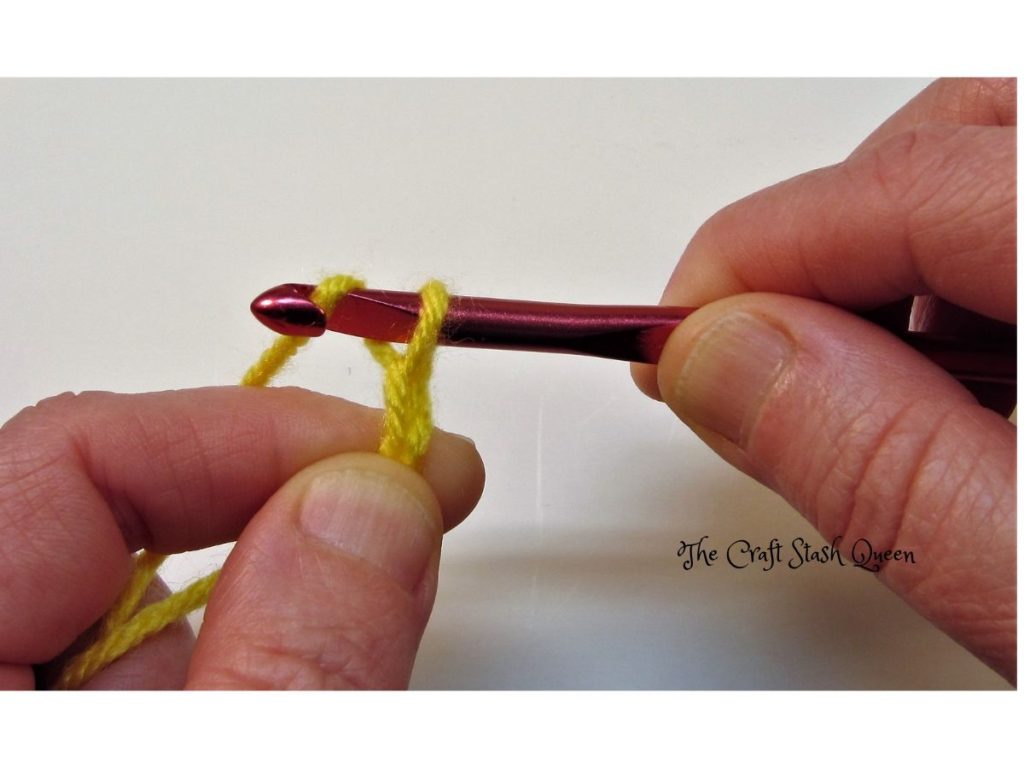
Wrap the yarn around the hook from back to front. This is called a yarn over.
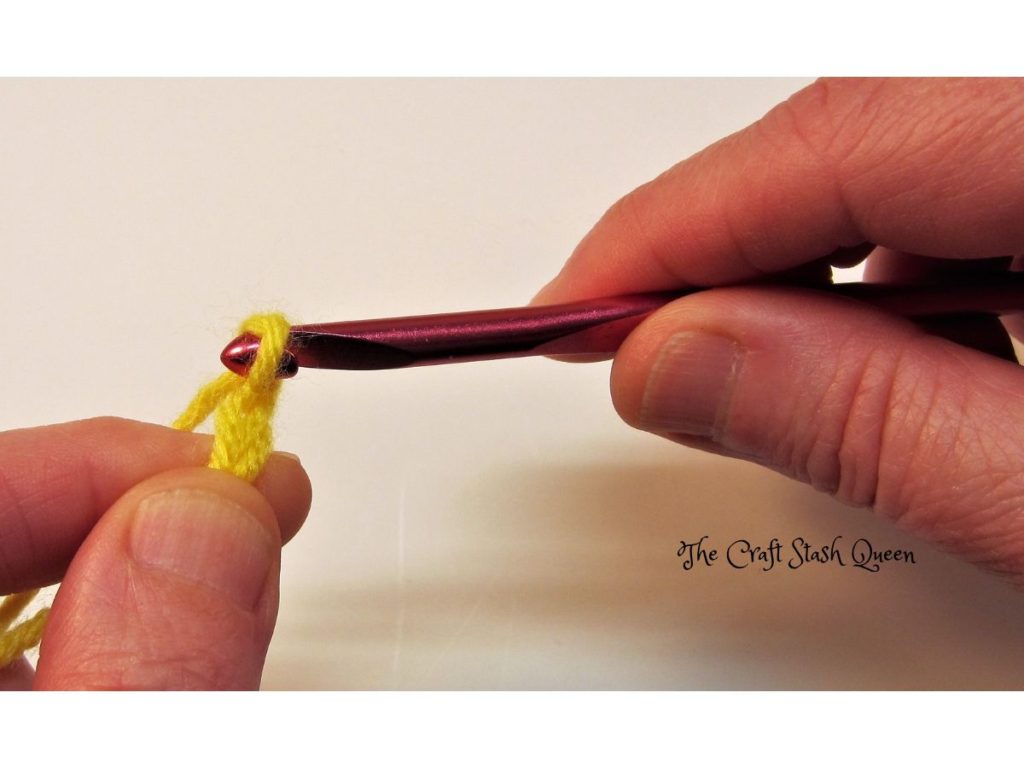
Pull the yarn through the loop on the hook.
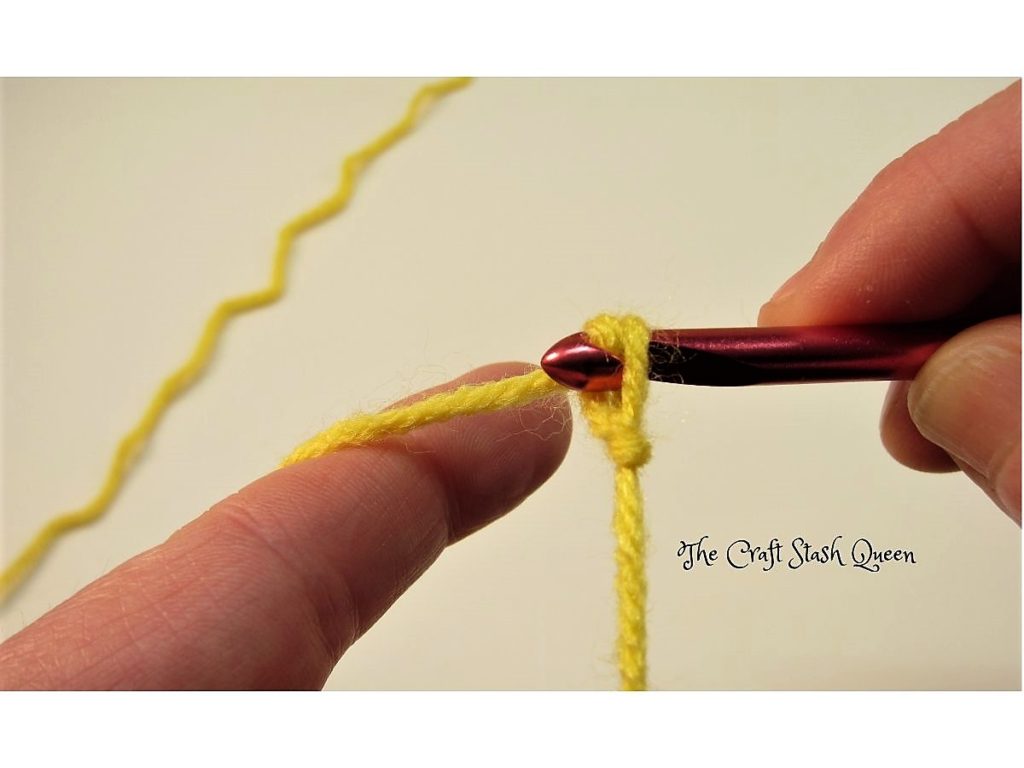
You created one chain!
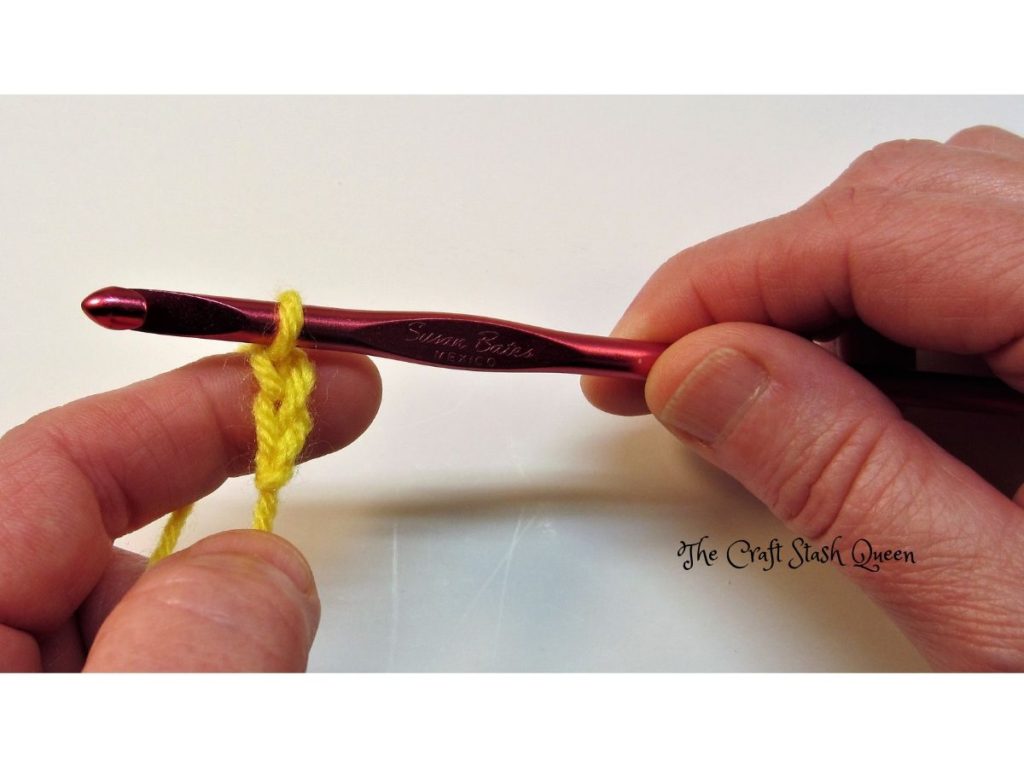
Let’s do it again. Wrap the yarn around the hook from back to front. Remember that’s called a yarn over.
Pull the yarn through the loop on the hook.
You now have two chains.
Keep doing it over and over. Chain like crazy! Take your time; there’s no need to go fast. Don’t worry about your tension. Don’t worry about whether all the chains are consistent. Just get comfortable with making chains; everything else will come with practice and patience!
Are you ready to move on? The next step is How to Crochet the Single Crochet Stitch. Once you learn the single crochet stitch, I actually have your first project all lined up for you. How exciting is that?
I hope you found this tutorial on how to crochet the chain stitch helpful. If you have questions, please leave them in the comments.
Want to remember this? Pin this How to Crochet the Chain Stitch article to your favorite Pinterest board!


You May Also Like

How to Crochet the Single Crochet Stitch

Welcome to The Craft Stash Queen!