How to Make a Slip Knot
Before you can start crocheting, you need to get your yarn on your hook. You will accomplish this by making a slip knot. There’s many different ways to make a slip knot. I’m going to show you two ways. It’s relatively easy to make a slip knot. Let’s get started with this tutorial on how to make a slip knot so we can move onto doing some crocheting.
This post contains affiliate links. Read our Disclosure Policy for details.
Supplies
- Yarn — medium weight, #4
- Crochet Hook — size I-9
If you are following a pattern, use the yarn and hook suggested in the pattern.
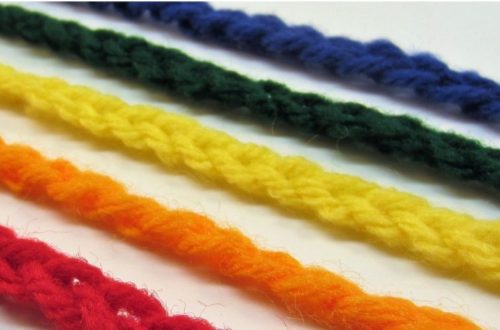
If you are practicing with no pattern in mind, a worsted weight acrylic, cotton or wool will be your best choice. Look for the number 4 on the back of the yarn wrapper. Choose a light, bright color and stay away from fuzzy, loopy or slippery yarns. As far as a crochet hook, I recommend an I-9, 5.5 mm crochet hook. If you have any questions on the tools you need to start crocheting, read Crochet Tools for Beginners.
What Is a Slip Knot
Quite simply, a slip knot is a knot that slips easily along the yarn around which it is made. Chances are you’ve probably made a one. If you know how a slip knot, go ahead and make it the way you already know. Let’s get started.
Method 1
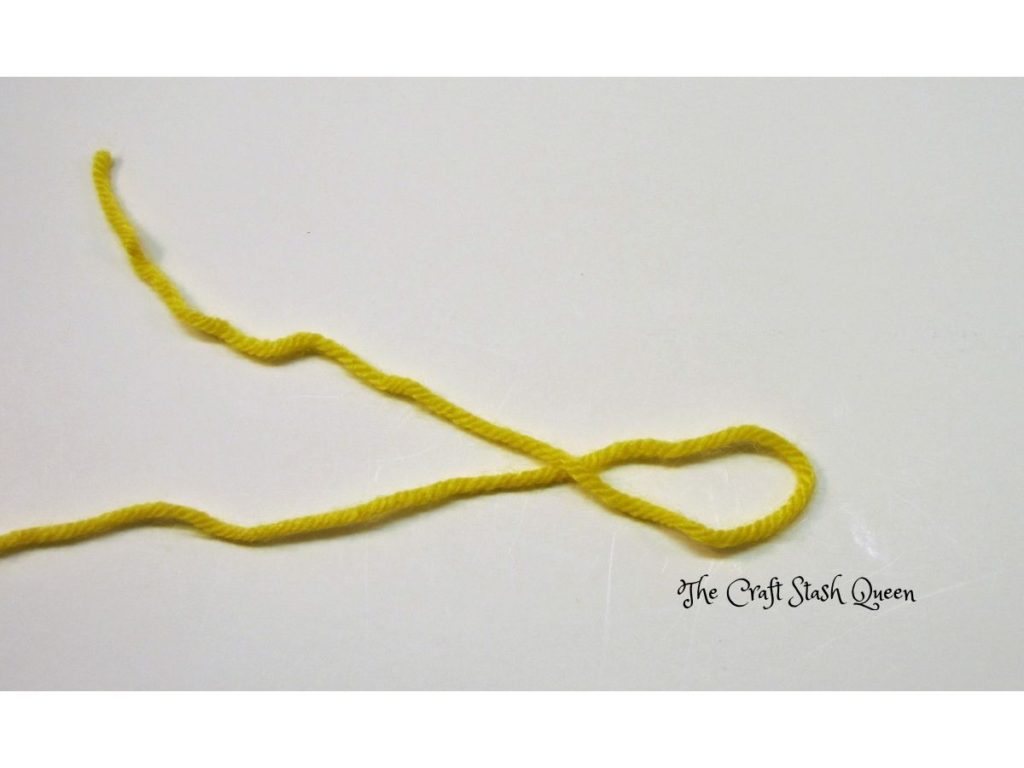
Make a loop by placing the tail of the yarn over the working yarn. It looks kind of like a drawing of a very simple fish.
Bring the tail of the yarn under the loop so it kind of divides the loop in half.
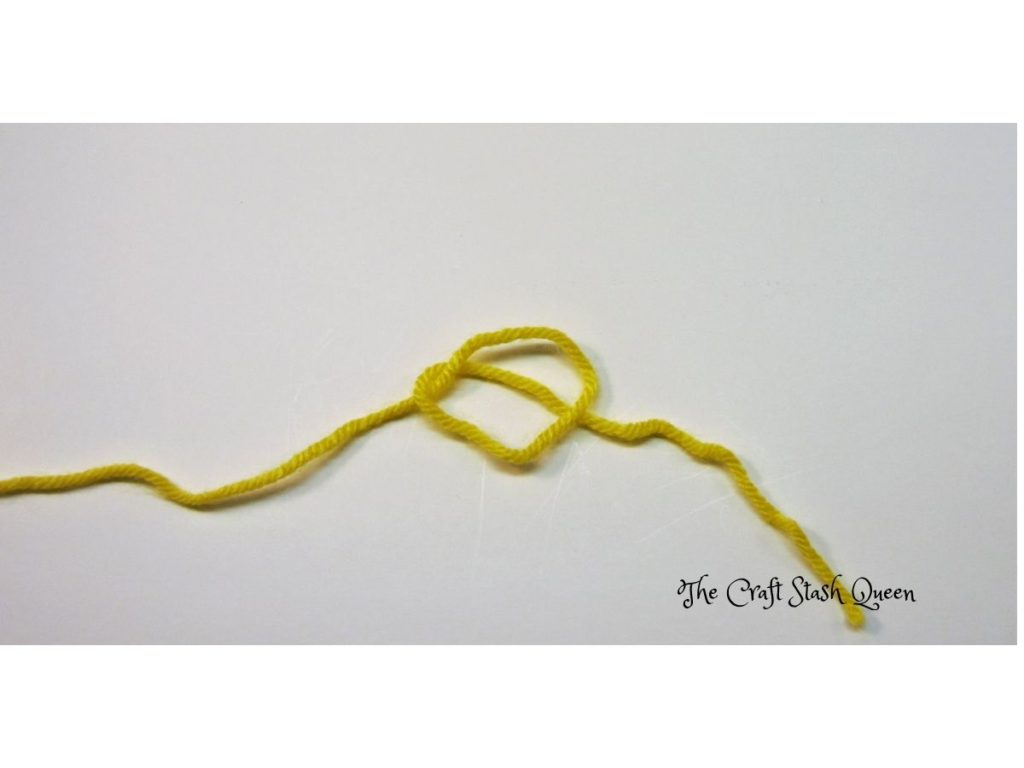
Pull up on the yarn that is dividing the loop. Hold the tail and the working yarn (the yarn going to the skein). Pull gently until the slip knot gets smaller,
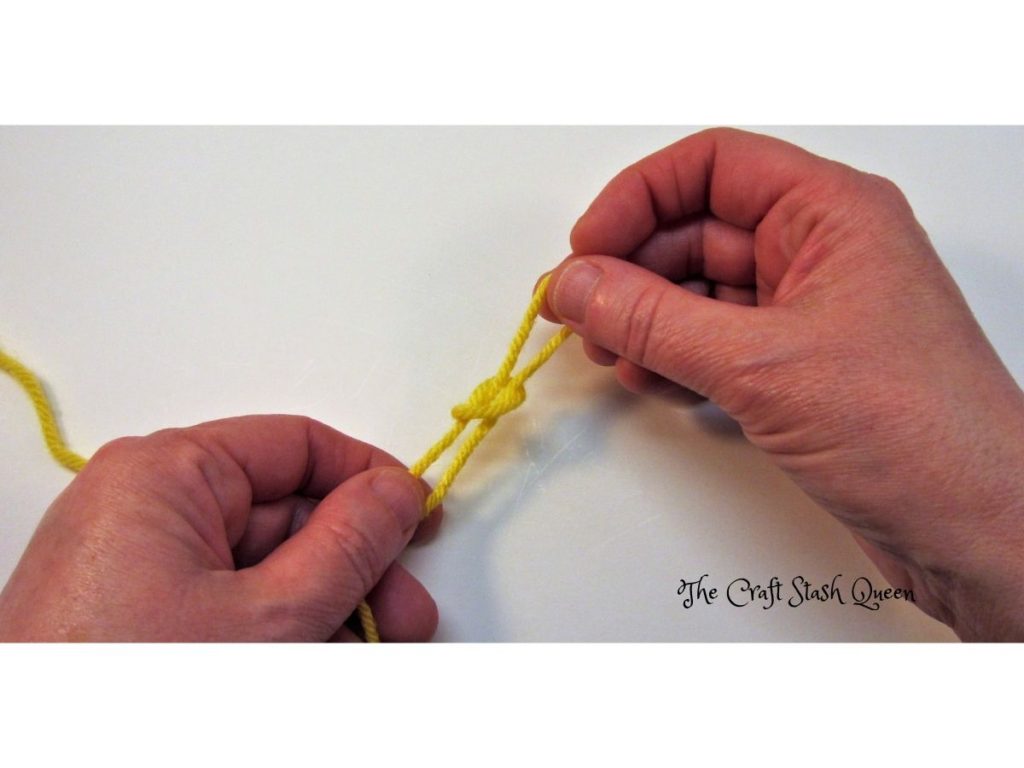
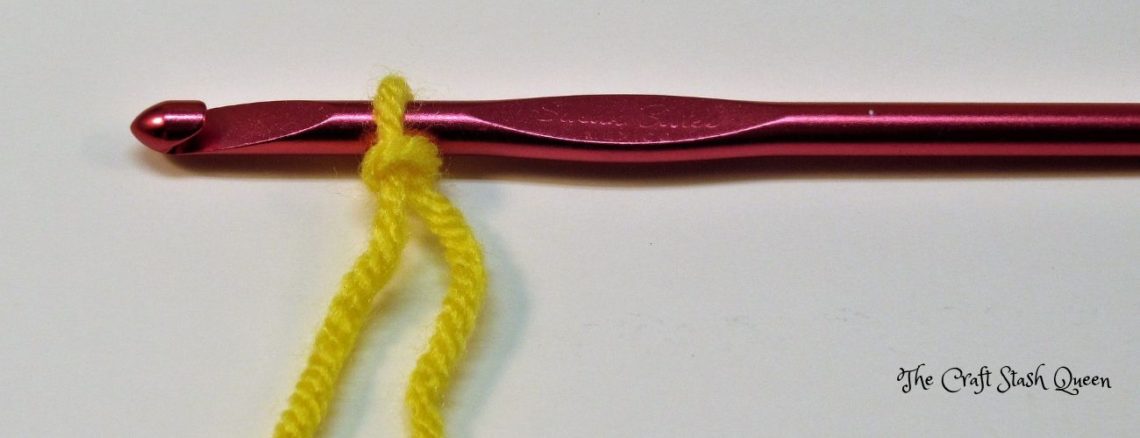
Pulling the tail will make this knot tighter or looser. Use care to not pull the knot apart. Place the loop on your crochet hook. Snug up the knot on the round part of the crochet hook. Don’t pull too tight. The loop should move freely on the hook.

Congratulations! You made a slip knot. You are ready to learn How to Crochet the Chain Stitch.
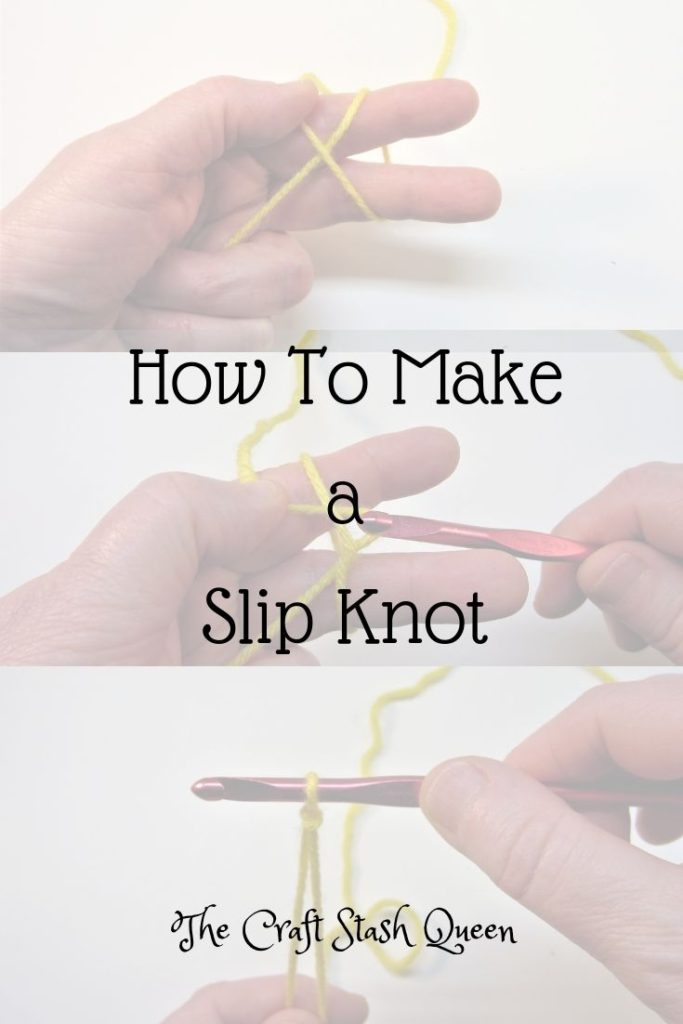
Method 2
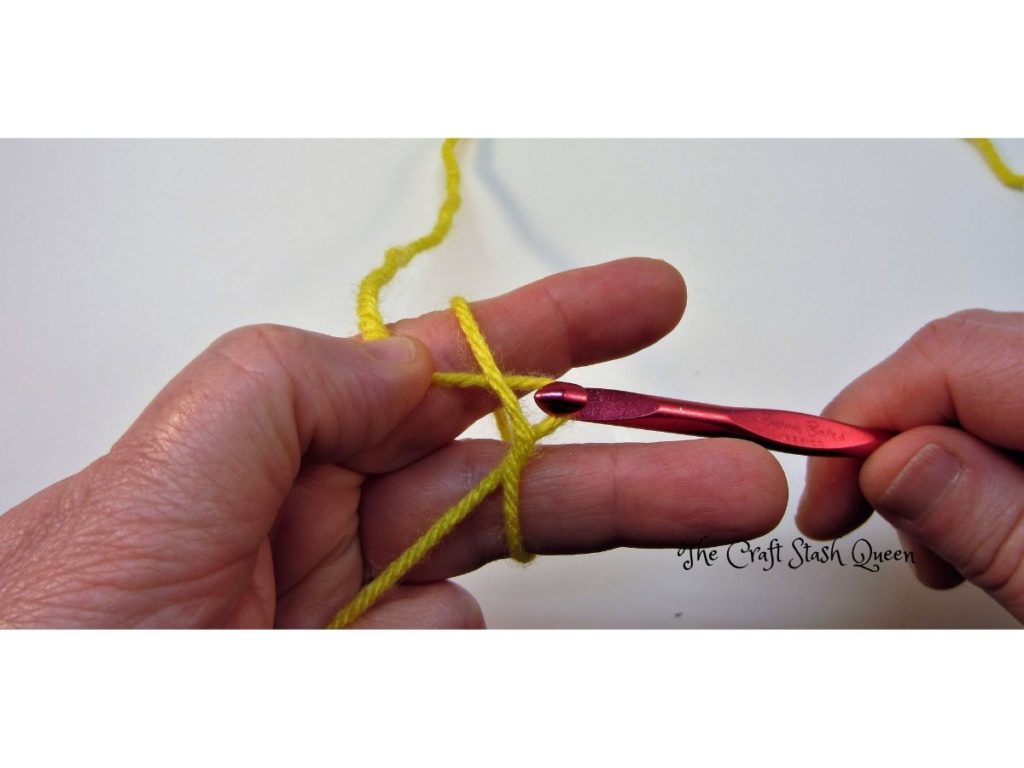
Starting with the tail by your little finger, wrap the yarn around your pointer finger and your middle finger. Create an x-shape like shown in the picture below.
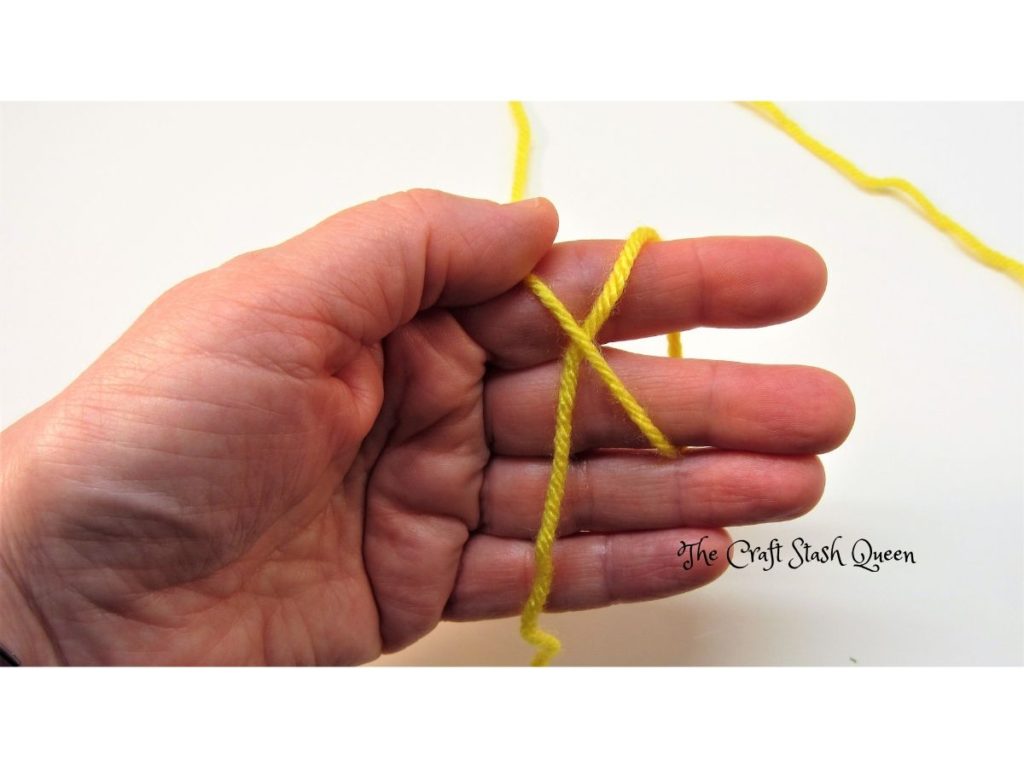
Anchor the tail with your ring finger and little finger. Anchor the working yarn (the yarn going to the skein) with your thumb.
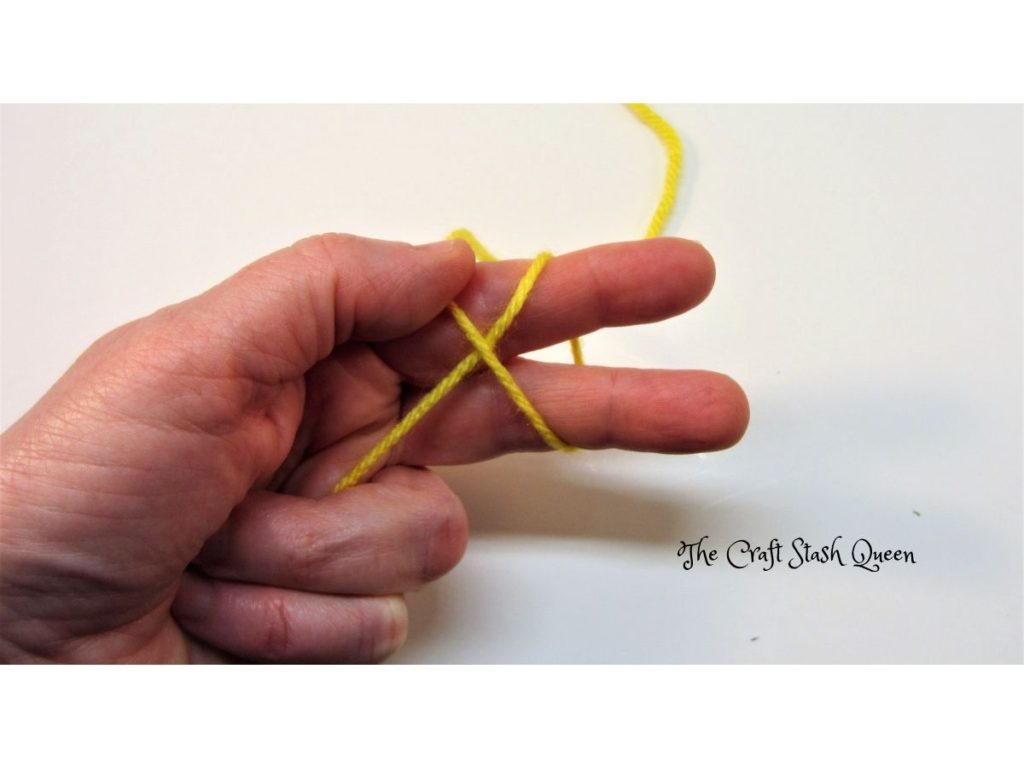
Using your crochet hook, go under the yarn on your pointer. Hook the working yarn.
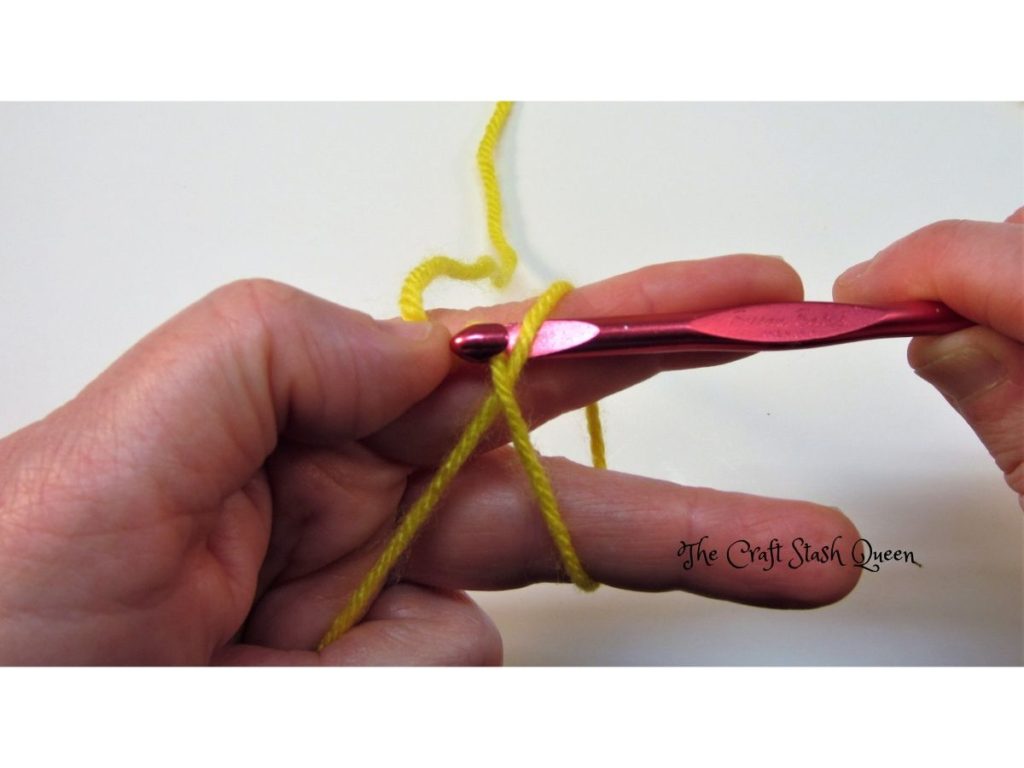
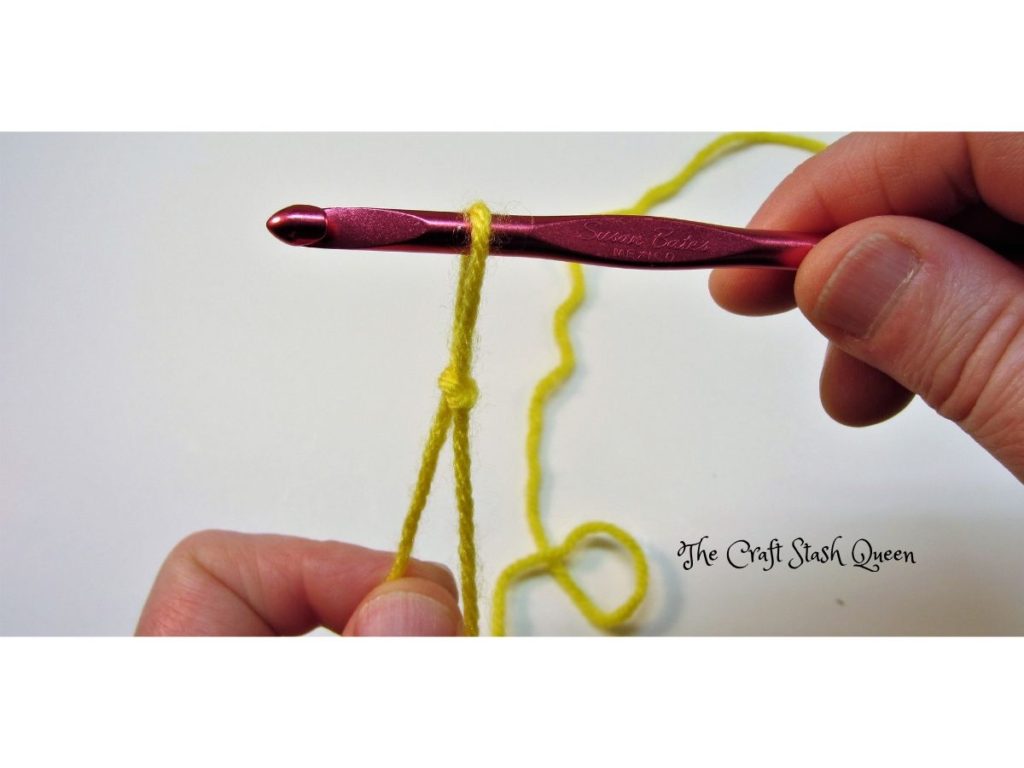
Pull the working yarn. Keep using your thumb loosely as an anchor. See the photo below.
Once you have the loop on the crochet hook, you can let the yarn go. Be sure that the loop is on the round part of the crochet hook.
Pull on the yarn that slips to snug up the knot. Don’t pull too tight. The loop should move freely on the hook and the loop should be on the round part of the crochet hook.
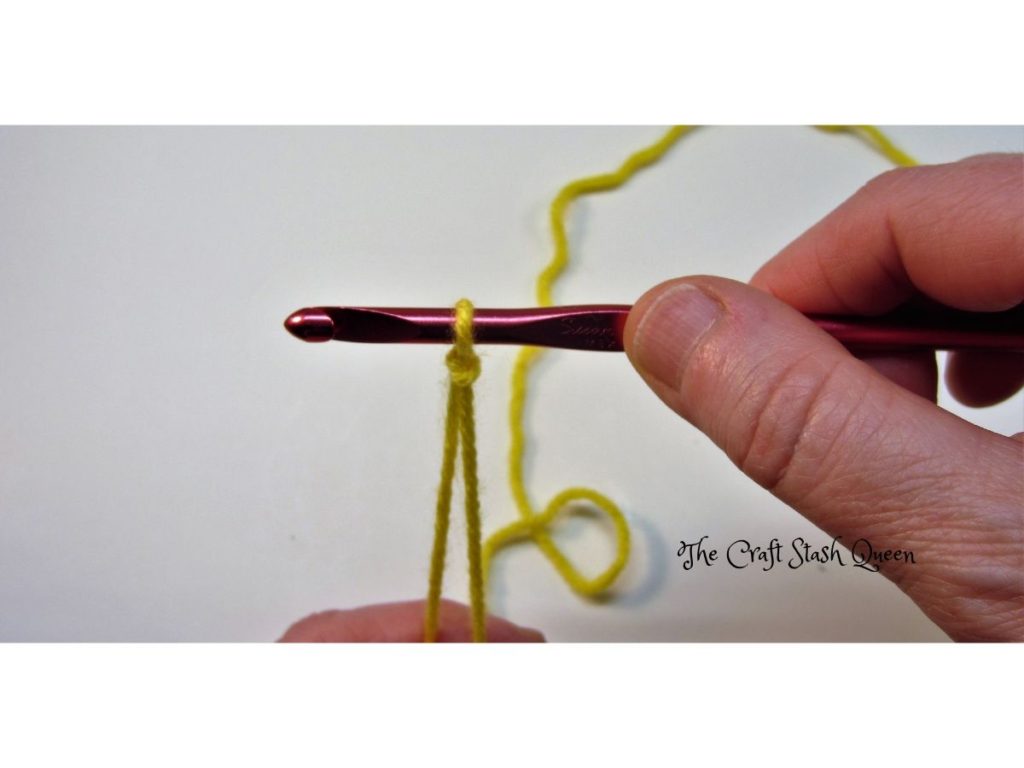
Congratulations! You made a slip knot. You are ready to learn How to Crochet the Chain Stitch.
I hope you found this tutorial on how to make a slip knot helpful. If you have questions, please leave them in the comments.
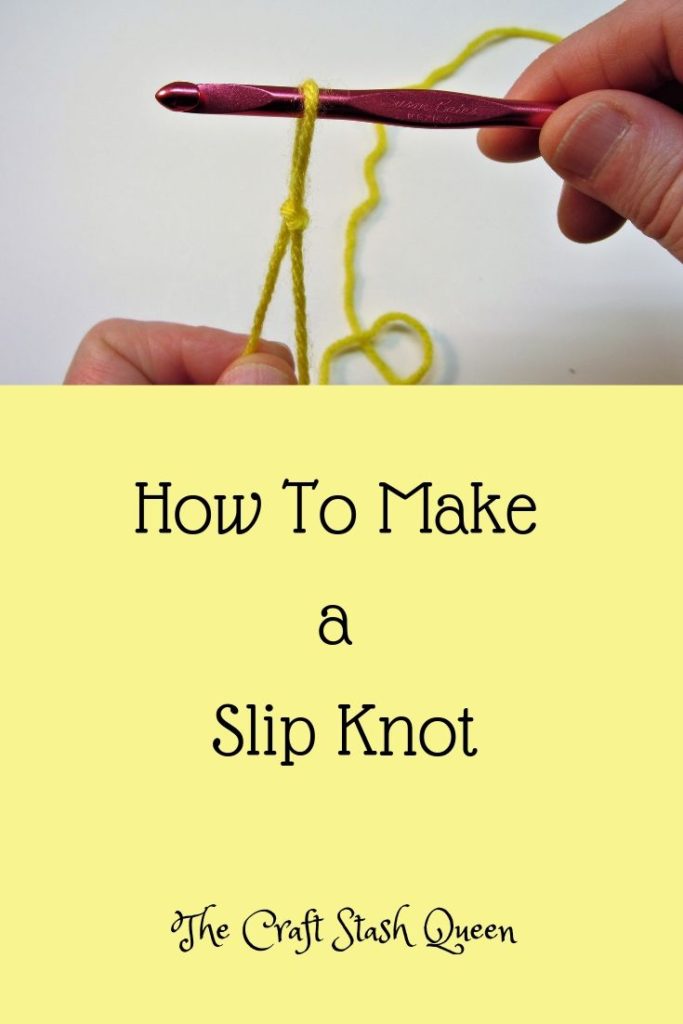
Want to remember this? Pin this How to Make a Slip Knot tutorial to your favorite Pinterest board!


You May Also Like

Mini Crochet Easter Basket

Welcome to The Craft Stash Queen!